

7 Common Beginner Nail Tech Mistakes & How to Avoid Them
Starting Out in Nail Art & Styling: How to Avoid the Most Common Mistakes?

We all had to start somewhere. While nail tutorials on social media make a flawless manicure look like a matter of a few quick brush strokes, the reality at your nail desk can be much more demanding. Shaky hands, flooded cuticles, or streaky color are everyday hurdles for beginners.
Instead of getting discouraged, though, it is worth looking at the technical side of your application. Here is a breakdown of the most common mistakes that might be standing between you and your dream set of nails.
1. Inadequate Cuticle Prep
We often forget that proper prep work is the absolute foundation. When you thoroughly remove the pterygium and ensure the lateral nail folds are clean and smooth, applying color becomes a total breeze. Remember: gel polish needs a smooth canvas—if the base is uneven, no polished painting technique can salvage it.
2. Trying to Paint "Under the Cuticles" at All Costs
We all love that seamless "growing straight out of the cuticle" look because it hides regrowth for longer. However, if you are still honing your skills, always prioritize safety and precision.
Golden rule: It is much better to apply product leaving a tiny, clean gap with a razor-sharp outline than to risk flooding the cuticles. Flooding cuticles isn't just an aesthetic issue; it severely impacts retention, causing lifting and premature peeling.
3. Product Ratio Issues
Eyeballing your product application often results in patchy coverage or thick, unsightly ridges along the sidewalls. How to do it right?
-
Apply a very thin first coat to precisely map out your outline.
-
Before curing, add a small bead of color to the center and float the product down using long, fluid strokes.
4. Pressing Too Hard on the Brush
This mistake ruins the self-leveling surface of your coat. If your brush hits the nail plate at a 45-degree angle, product gets deposited near the cuticles while the tip of the brush drags it off the rest of the nail.
The fix: Once you outline your perimeter, lay your brush almost flat, parallel to the nail plate. Let the product float into place rather than scrubbing it across the nail.
5. Painting All Nails at Once
Beginner nail techs often paint an entire hand before sliding it into the lamp. In that time, gravity takes over and the product pools into the side walls.
A better approach: Paint and flash-cure one nail at a time, alternating hands (e.g., left thumb, right thumb). This guarantees the gel stays exactly where you placed it, saving you precious cleanup time.
6. Lack of Consistency and Process Chaos
Nail styling is a precise, step-by-step process. To build speed and ensure you don't skip crucial steps, stick to a strict routine. Complete a single step (like buffing the plate) across all ten nails before moving on to the next. Systemic workflow is the secret to speed and professionalism.
7. Applying Cuticle Oil on a Hot Top Coat—The Enemy of High Shine
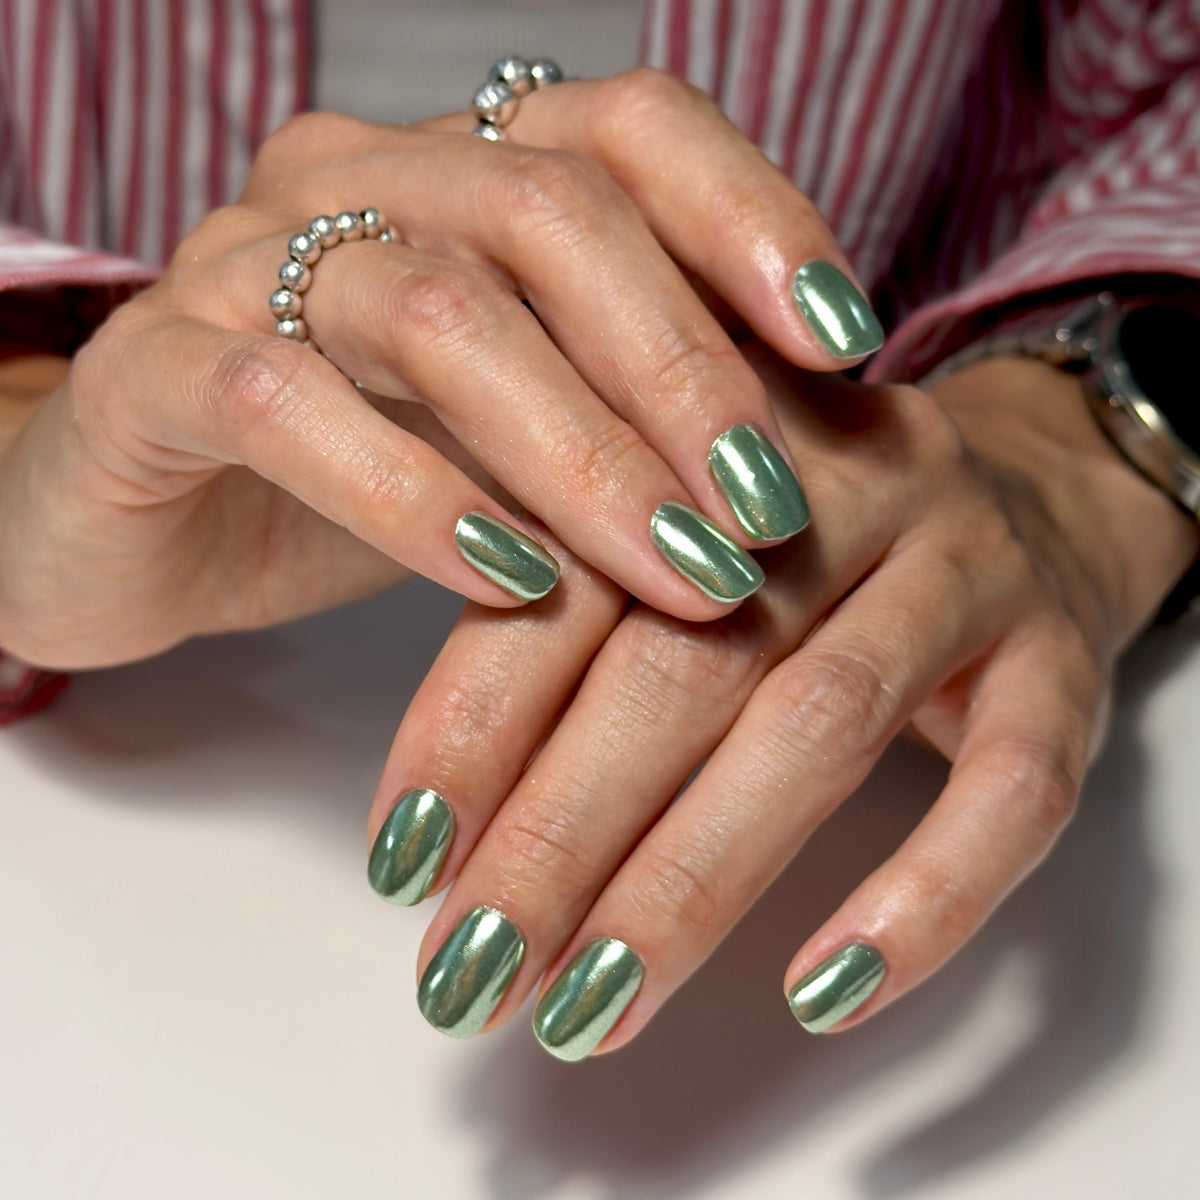
Want your nail photography to look sleek and professional? Never apply cuticle oil directly onto a freshly cured, warm top coat.
-
Let the top coat "cool down" for a minute after curing.
-
Apply oil strictly to the surrounding skin using a precise brush, avoiding contact with the nail surface itself. This preserves that glass-like high shine while keeping the cuticles nourished.
Remember, practice makes perfect, and every mistake is just a stepping stone toward mastering your craft!
Drop a comment below and tell us: what other challenges are you facing as a beginner nail tech? We'd love to help answer your questions!



Leave a comment
This site is protected by hCaptcha and the hCaptcha Privacy Policy and Terms of Service apply.